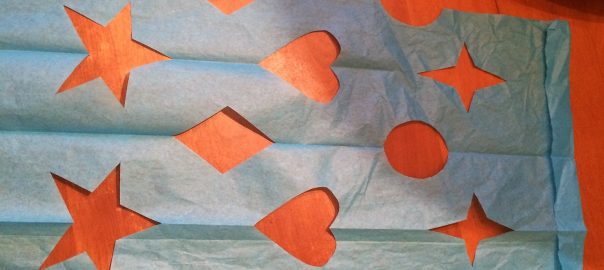
Last month we did a couple of art projects from Mexico for Cinco de Mayo. One of them was the traditional papel picado, or “pierced paper”. I love the delicate designs you can make with this technique.
Here are some tips from Kaye!
- I folded the tissue paper and pinking sheared its bottom edge so participants would know where the top was.
- I cut cardboard templates for various shapes and, with colored marker, marked the edge that runs along the paper’s fold line. Since the templates are 1/2 the finished shape, I labeled each one with its shape: valentine, star, 4-point star, oval, diamond, etc.
- I provided pencils and light-colored pencils for tracing, because markers seep through tissue paper. The light-colored pencils work best on the dark-colored tissue paper.
Now let’s get to making!
Take your already fan-folded paper and choose what shapes you’d like to put on it, and where you’d like those shapes to go:
Trace around the shape templates with a pencil. Trace lightly, we don’t want to tear the paper!
Take your scissors and cut out the traced shapes.
Then unfold the paper to reveal the pattern of shapes!
(You can see in the above picture that, in addition to folding the papers into the fan-fold ahead of time, Kaye also added a top flap to aid in the next step.)
Now we just need to add a cord you so can hang your creation! Lift up the top flap on the paper and run a glue stick along the fold line.
Lay a piece of string or cord along the line of glue, fold the top flap back down over the cord, and press firmly to make sure everything sticks where it should!
And now you’re done! Hang up your papel picado in a window to show it off!
What shapes would you put on your papel picado? I like all of the star options myself. 🙂
Happy creating, everyone!


