We’ve had a delightfully long spring here in Austin this year; temperatures have been mostly in the mid-80s so far, instead of already being in the high-90s like normal! It’s the little things in life. 🙂
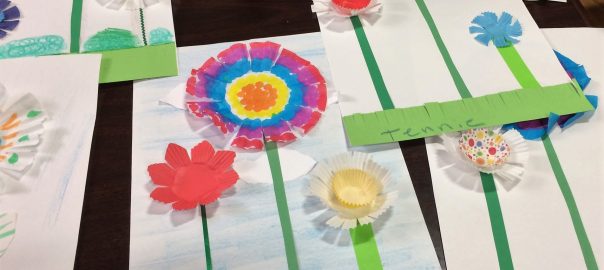
Recently we made spring flower collages with our groups, using all sort of fun colors and materials. The main event, though, was using coffee filters to make flowers: the porous nature of the filter paper means that markers make a nice watercolor effect on them.

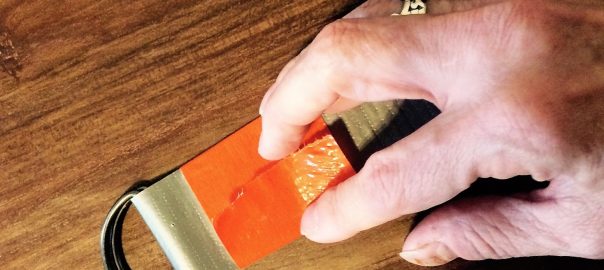
First up for this craft, here are some tips from Kaye!
- I prepped the coffee filters by cutting them from the rim into the center so they fan out like flower petals. If your group has enough time and fine-motor skills they could do this step themselves.
- You can use any markers to color the coffee filter flowers, but to get the perfect circles you see in our pictures we used bingo markers (sometimes called bingo daubers). They’re just markers with a flat top used for marking bingo-cards, or in our case, for creating a lovely polka dot effect!
Let’s get to making!
Things you’ll need:
- White and green construction paper
- Coffee filters
- Cupcake liners
- Candy liners (same as the cupcake liner but smaller, like for peanut butter cups)
- Crayons
- Markers and/or bingo markers
- Scissors
- Glue sticks
- Green ribbons, strips of construction paper, or rickrack
You’ll want to decorate your main, coffee filter flower first; the dye from the markers makes them pretty flimsy, so we’ll need to give them time to dry before we glue them onto our final collage.
Here’s the design Kaye made on hers:

Next, create another flower or two with the cupcake liners and candy liners. You can color on them, cut the edges of the liners into a new petal shape… You can even layer them to create the look of a daffodil!


Once you’ve made all the blooms you want, we can start on our sky. Taking an unwrapped blue crayon (or, hey, whatever color you want, it’s your sky!), rub the crayon gently over the surface of the paper. You should get a nice textured effect from the paper.

Then, take another sheet of paper (or scrap paper) and tear it up into your clouds! Any shape you like! Glue them onto your sky with a glue stick.


Hopefully your flowers are dry and ready to put on the collage now. Using the glue stick, glue the flowers where you’d like them on your sky.

(Hint: If you use glue only on the center of the flowers, the petals will stay loose and have a little movement to them, like they’re blowing in a nice breeze.)
Then give each flower a green stem! You could draw this with marker, use a green ribbon or rickrack, or use a strip of green construction paper.

Finally, let’s add some green grass! Cut a strip of green construction paper so that one edge looks like fringe; run your finger along the fringe gently to sort of tousle the grass. Glue the uncut edge to the bottom of your sky.

Your collage is complete! You can also draw on some bugs if you’d like, or add your name to your masterpiece for full artistic flair.
Here’s a sample of the great collages our groups made:


What have you been making this spring? We’d love to hear other fun group art project ideas in the comments, or send us a message on Facebook!