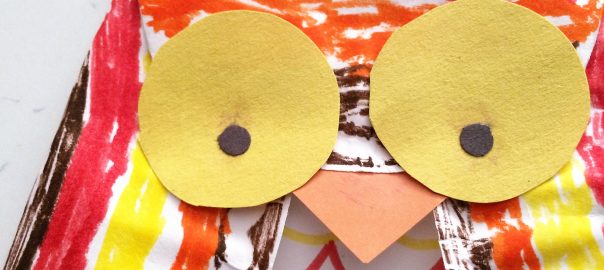
We made owls out of paper plates the other day, and look how fun and fall-like they turned out!
Some tips from Kaye:
- Tracing the fold lines on the plate’s back helped our folks with the logistics of the process.
- I sorted the eyes, eye pupils, beaks, and talons (we provided a choice of color in all) into egg-carton sections for transport.
- A stapler helped hold the folds in place for easier coloring.
- In a room with a blank wall, it would be fun to craft a huge tree from brown wrapping paper and set the owls to roost.
Here’s the full how-to!
Draw the following fold-lines on the paper plates:
In the center of the plate draw rows of scalloped lines to be the owls chest feathers:
Fold in the sides along the lines.
Color the wing feathers:
Fold down the top part of the plate. This will be the owl’s head. Staple it to keep it in place.
Color the owl’s head. You could make it match the wing feathers, or make it stand out.
Make a pair of eyes for your owl by gluing small circles inside large ones.
Glue the eyes onto the owl’s head. Also glue on a beak.
Give your owl some talons.
And you’re finished! What is your owl’s name?


