A Happy Belated Thanksgiving to you all!
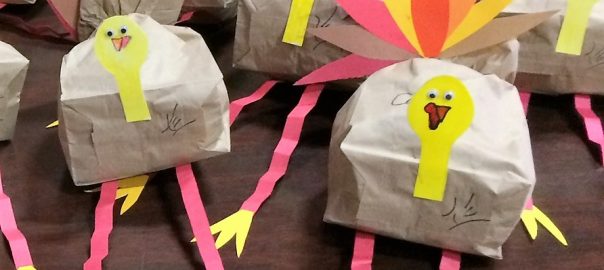
We made these fun turkeys out of brown paper lunch bags a few weeks ago. They’re fun to make and then they can sit on a shelf or mantle bringing holiday cheer throughout the Thanksgiving season. 🙂
Here’s how to make them!
Start with a brown paper lunch bag and some newspaper. Stuff the newspaper into the bag.


Twist the bag shut and secure it with a piece of chenille stem (you can cut them in half or even thirds to make the most of your resources).

With scissors, cut the bag into strips from the edge to to the stem.

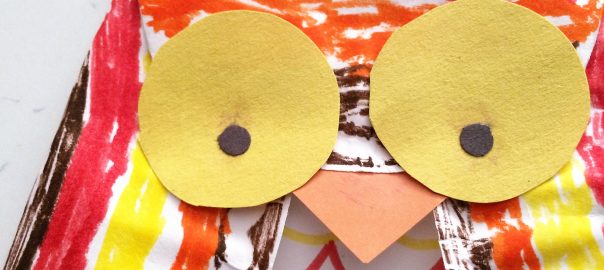
Color your turkey head with colored pencils or markers. Make sure to get the beak and waddle, and glue on some fun googly eyes.

Glue the turkey head to the bottom of bag, like so:

Glue some colorful tail feathers to the strips at the other end of the bag.

Your turkey is almost done now! It just needs legs!

Accordion fold two strips of red paper, then glue on some turkey claws to the ends of the strips.

Glue the end opposite the claws to the underside of the bag, under the turkey head.

Now your turkey is ready to celebrate Thanksgiving with you!


Here’s to the Thanksgiving spirit lasting all year long!


